Ever spent 20 minutes shaping your brows, only to have them look like two caterpillars staging a revolt by noon? Yeah, we’ve all been there. Here’s the kicker: it’s probably not you—it’s your tools. Enter the unsung hero of eyebrow grooming—the brow gel applicator. In this guide, you’ll learn why this tiny tool is a game-changer for flawless brows, how to use it like a pro, and which mistakes to avoid.
We’ll cover:
- The eyebrow woes everyone pretends they don’t have.
- A step-by-step guide to mastering the brow gel applicator.
- Tips, tricks, and eyebrow fails you didn’t know were happening.
Table of Contents
- Key Takeaways
- The Problem with Brows: Why They’re So Hard to Perfect
- Step-by-Step Guide to Using a Brow Gel Applicator Like a Pro
- Best Practices for Flawless Brows Every Time
- Real Talk: Brow Transformation Success Stories
- FAQs About Brow Gel Applicators
Key Takeaways
- A brow gel applicator ensures precision application, reducing smudges and unevenness.
- Pairing your applicator with high-quality brow gel makes a night-and-day difference.
- Avoid common mistakes like overloading the brush—your brows will thank you.
The Problem with Brows: Why They’re So Hard to Perfect
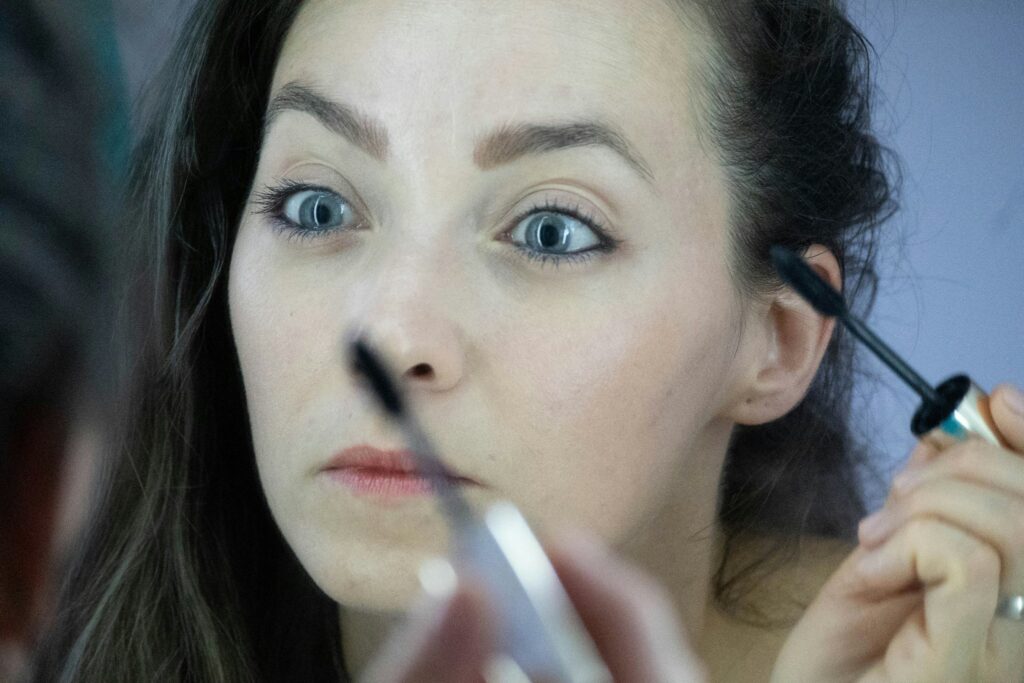
Let’s face it: eyebrows are tricky little beasts. One wrong move, and suddenly you’re rocking an unintentional ’90s thin brow or what I affectionately call “Angry Caterpillar Mode.” And don’t even get me started on trying to apply brow gel without a proper applicator. Have you ever used one of those spoolie brushes that just glob product everywhere? Chef’s kiss—but not in a good way.
In my early days of beauty experimentation, I once thought using mascara as brow gel was genius (*spoiler alert: it wasn’t*). The result? Sticky, clumpy brows that made me look perpetually confused. Sound familiar?
This is where a quality brow gel applicator comes in—a tool so underrated that most people overlook it entirely. Whether you’re dealing with sparse patches or unruly strands, the right applicator can transform your brow routine from chaotic to #BrowGoals.
Step-by-Step Guide to Using a Brow Gel Applicator Like a Pro
Optimist You: “These steps sound easy enough!”
Grumpy You: “Easy? Sure—if you’ve got four hands.”
Step 1: Prep Your Brows Properly
Start with clean, dry brows. If you skipped brushing them this morning—no judgment here—grab a spoolie brush to smooth things out first. This sets the stage for effortless application later.
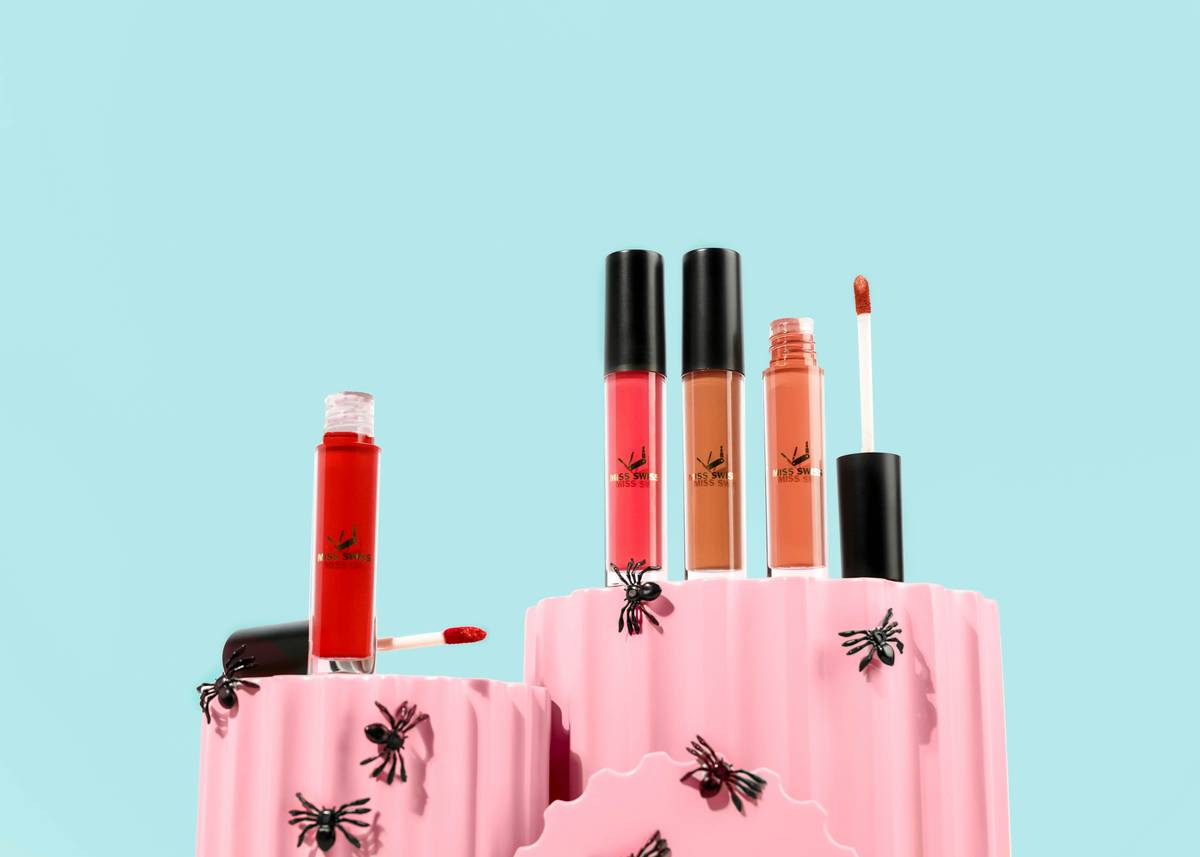
Step 2: Choose the Right Gel
Not all brow gels are created equal. Look for a formula tailored to your specific needs: clear for hold, tinted for filling gaps, or waterproof if you sweat like crazy during spin class.
Step 3: Load the Applicator Correctly
Dip the applicator into the gel lightly—not too much unless you want Sasquatch-level brows. Swipe off any excess against the tube edge. Less really is more here.
Step 4: Apply with Precision
Using short, feather-like strokes, glide the applicator along your natural brow shape. Start at the inner corner and work outward. Think of it as painting mini hairs instead of slathering on color.
Step 5: Set Everything in Place
Once applied, let the gel dry naturally without touching your brows again. Don’t skip this step; otherwise, they’ll end up sticking together like magnets.
Best Practices for Flawless Brows Every Time
Here are some golden rules every brow enthusiast should live by:
- Always Use Light Pressure. Pressing too hard leads to uneven coverage.
- Clean Your Applicator Regularly. Dirty brushes = bacteria buildup (gross).
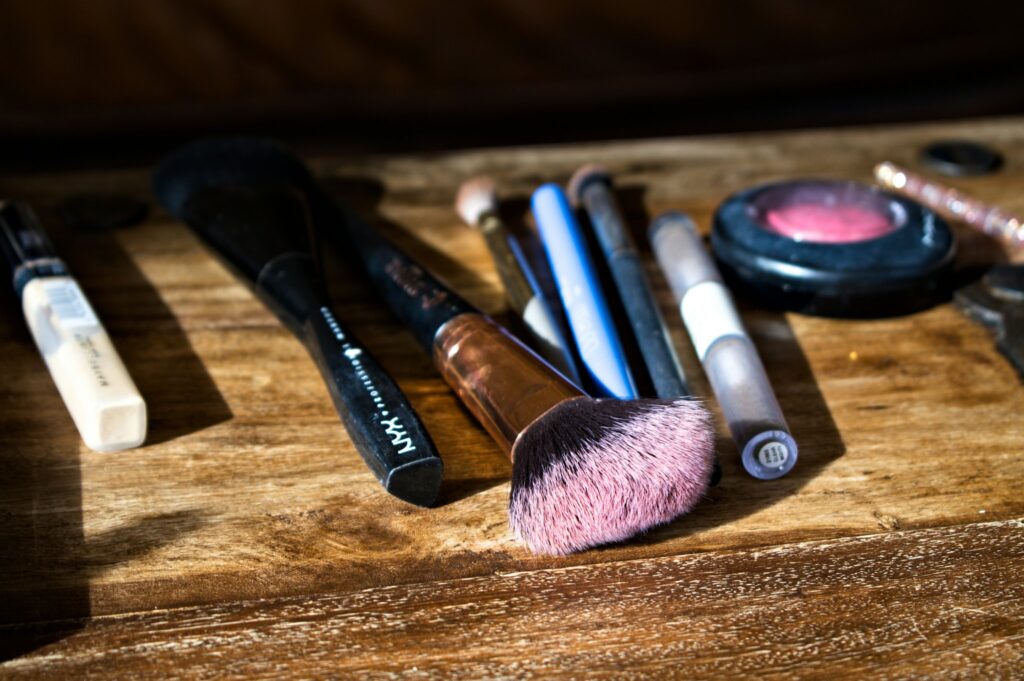
- Match Your Tools to Your Style. Thin applicators work wonders for detail lovers, while angled ones suit bold shapes better.
Pro Tip: Keep a spare brow gel applicator in your bag for emergencies. A midday brow touch-up can save your confidence faster than caffeine saves your mood.
Terrible Advice Alert: Never use superglue to keep unruly hairs down. Yes, someone actually did this once. Spoiler: it ended poorly.
Real Talk: Brow Transformation Success Stories
Meet Sarah, who went from “Oops, my brows disappeared” to “Whoa, are those real?!”. She switched her flimsy drugstore wand for a professional-grade brow gel applicator—and voilà, Instagram-worthy brows became her new normal.
Another success story? Rachel, whose DIY attempts left her looking perpetually surprised. After investing in a dual-ended brow pencil/applicator combo, she nailed the perfect arches that stayed put through sweaty yoga sessions.
FAQs About Brow Gel Applicators
Q: Do I need a separate brow gel applicator?
Absolutely! Many gels come with basic wands, but dedicated applicators provide better control and smoother finishes.
Q: How do I clean my brow gel applicator?
Use warm water and gentle soap. Massage the bristles softly, rinse thoroughly, and air dry. Easy peasy.
Q: Can I use a brow brush instead of an applicator?
You *could*, but expect less precision. Brushes spread gel unevenly compared to specialized applicators designed for targeted strokes.
Conclusion
Brows might seem minor in the grand scheme of life—but trust us, when done right, they frame your face beautifully. With a reliable brow gel applicator, achieving salon-worthy brows becomes achievable even for beginners. Remember our tips, steer clear of questionable hacks, and embrace the power of precision tools.
And hey, repeat after me: “Fluffy brows are forever.” Now go forth and conquer!
P.S. Like a Tamagotchi, your SEO needs daily care. 🌿