Ever struggled to achieve those perfectly arched, salon-worthy brows at home? You’re not alone. Whether you’ve over-plucked or just want to define your natural shape, mastering eyebrow tools can feel overwhelming—especially when it comes to the mighty brow tint applicator. Spoiler alert: The right technique and tool are game-changers.
In this blog post, we’ll dive deep into everything you need to know about brow tint applicators. From their benefits to step-by-step application tips and must-avoid mistakes, we’ve got your brows covered. Let’s get started!
Table of Contents
- Why Every Beauty Routine Needs a Brow Tint Applicator
- Step-by-Step Guide to Using a Brow Tint Applicator
- Top Tips for Flawless Brow Tinting
- Real-Life Examples: Before & After Transformations
- Frequently Asked Questions About Brow Tint Applicators
Key Takeaways
- A brow tint applicator ensures precision and even color distribution during at-home treatments.
- Using an applicator instead of DIY methods reduces mess and saves time.
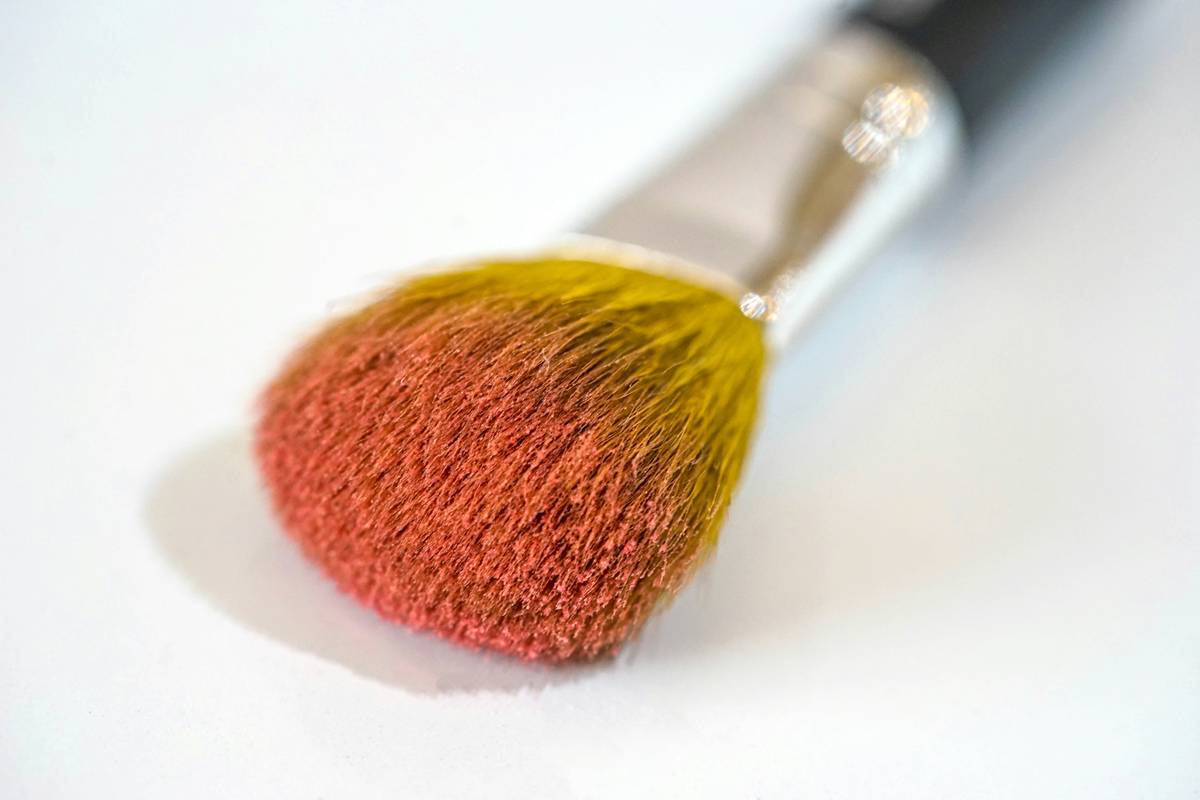
- Choosing the right brush size and material is crucial for long-lasting results.
- Mistakes happen—but they’re fixable with the proper techniques (no panic mode required).
Why Every Beauty Routine Needs a Brow Tint Applicator
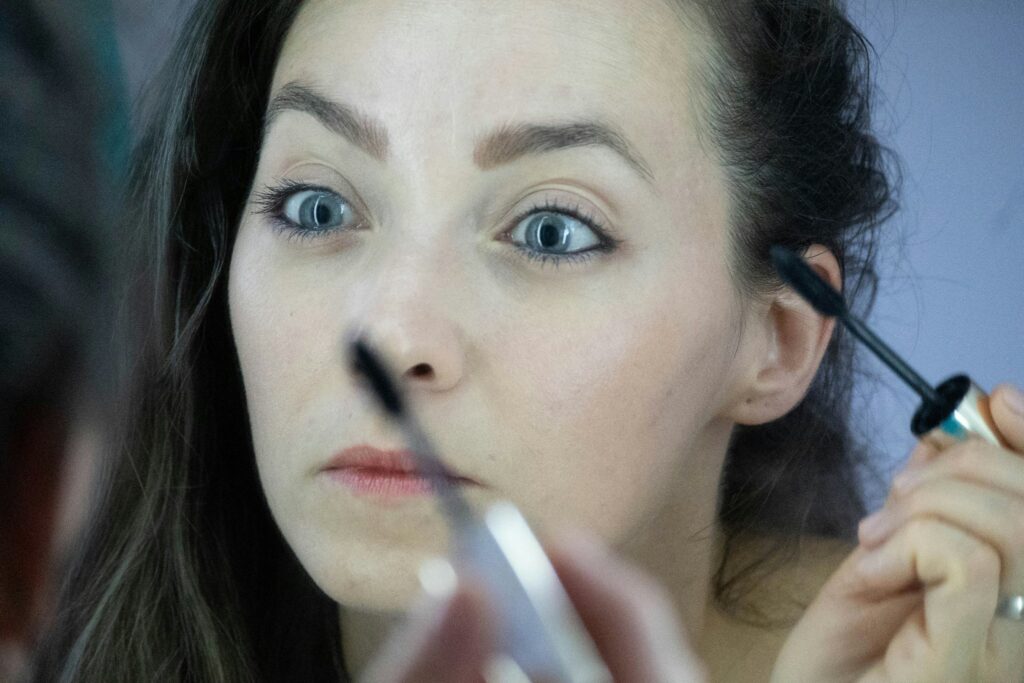
Picture this: It’s 7 AM on Monday morning. Sleep deprived, coffee in hand, and somehow expected to look semi-human before work. Enter: A brow tint applicator. Instead of spending precious minutes penciling in strokes that don’t match, these nifty brushes allow you to apply tint effortlessly—for brows so sharp, people will think you had them microbladed overnight.
But wait… aren’t brow brushes all the same?
Nope. A brow tint applicator is specifically designed to hold and distribute tint evenly across your arches without smudging outside the lines. Compared to regular makeup brushes, which lack precision, brow tint applicators have angled tips or fine bristles tailored for accuracy.
Step-by-Step Guide to Using a Brow Tint Applicator
Step 1: Prep Your Brows
Before anything else, start by cleansing your brows. Remove any oils, creams, or residue using micellar water or witch hazel. “Optimist You:” Thinks clean brows = smooth sailing!
Grumpy You: *’Clean brows also mean less chance of uneven pigmentation. So yeah, do it.’*
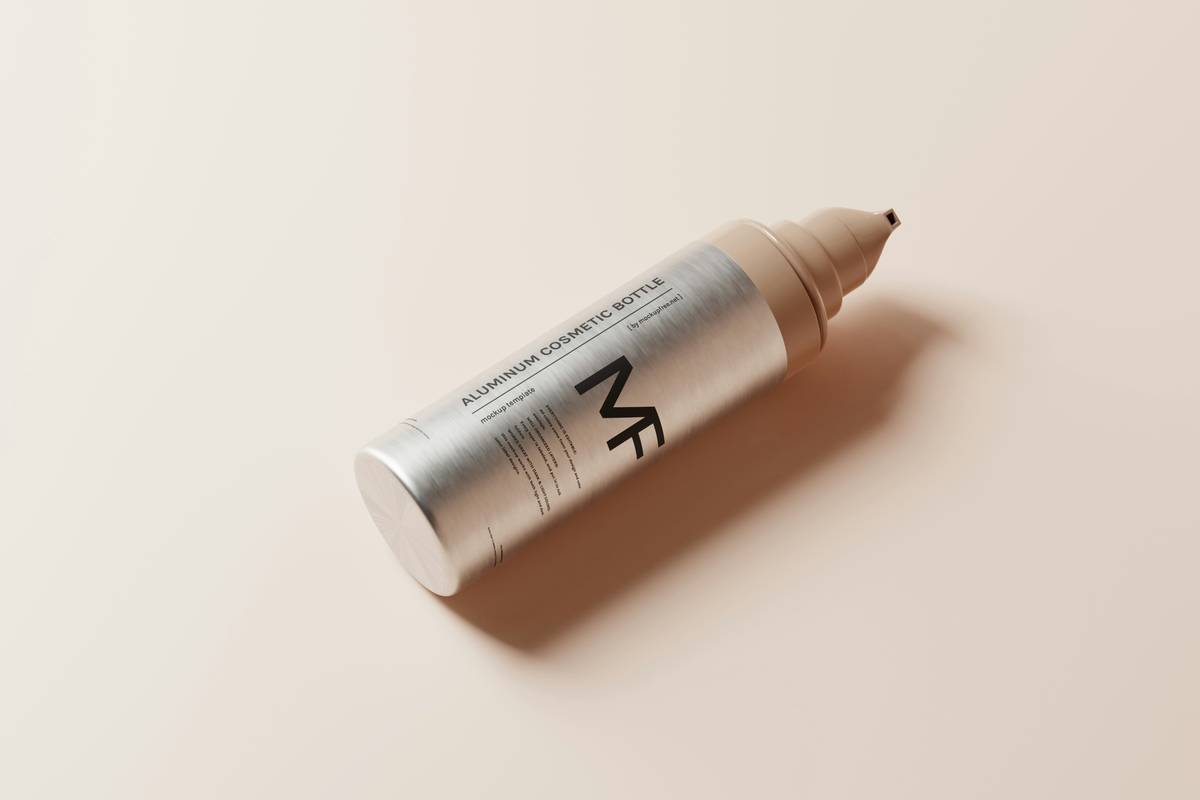
Step 2: Choose Your Tint
Select a shade slightly darker than your natural hair color if you’re going for boldness, or opt for something close to neutral for subtle enhancement. Pro tip? Always patch test first.
Step 3: Apply Using Small Strokes
Dip your brow tint applicator lightly into the dye mixture. Start from the inner corner, working outward with short feathery strokes. Imagine mimicking actual hair growth—it looks more natural!
Step 4: Wait, Then Wipe Off Carefully
Wait 10–15 minutes depending on your product instructions. Gently remove excess tint with damp cotton swabs, avoiding harsh rubbing.
Top Tips for Flawless Brow Tinting
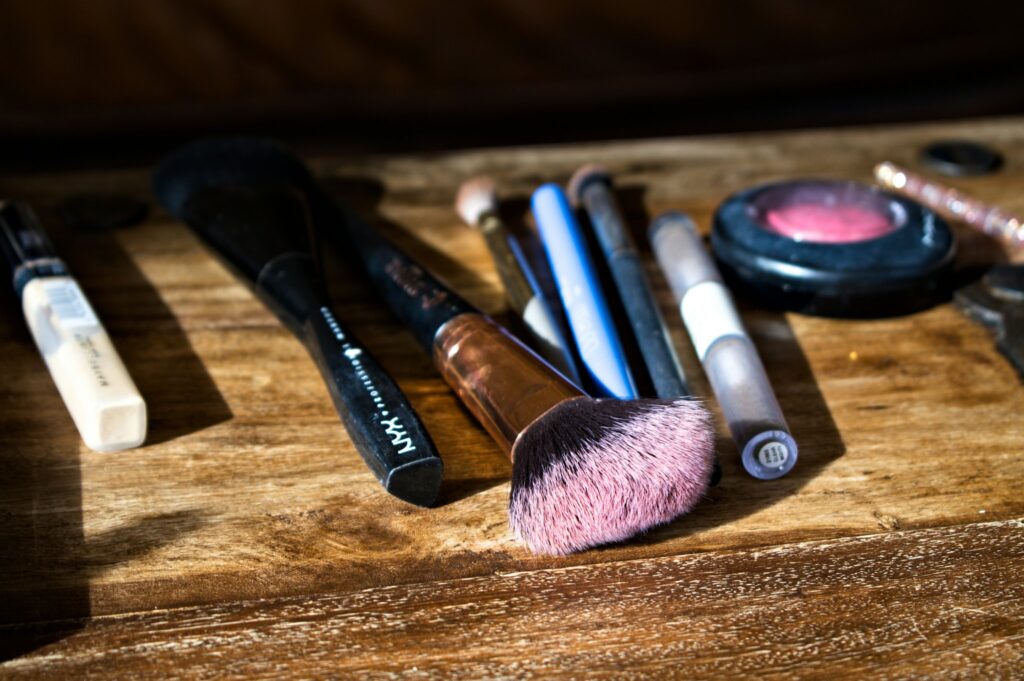
- Invest in Quality Tools: Cheap brushes often shed fibers, ruining your clean lines. Spend a little extra for durable applicators.
- Less Is More: Avoid overdipping your applicator; too much tint leads to clumpy disasters.
- Create Symmetry: Work one brow fully before tackling the other. This prevents mismatched shapes.
- Don’t Skip Protective Measures: Use petroleum jelly around your skin edges to block accidental stains.
- The “Terrible Tip”: Selfie Check Honestly Doesn’t Help Here. Taking mid-treatment selfies only stresses you out further. Trust the process!
Real-Life Examples: Before & After Transformations
Hear me out—nothing screams success like real-life proof. Sarah, a busy mom from Chicago, shares her story:
“I tried using regular Q-tips for my brow tint until I discovered professional applicators. Now my brows stay flawless for weeks without touchups!”
Below is a visual comparison showcasing Sarah’s journey:
Frequently Asked Questions About Brow Tint Applicators
What makes a brow tint applicator different from regular brushes?
Unlike standard makeup brushes, brow tint applicators feature firmer bristles and precise angles, ensuring controlled application for better accuracy.
Can I reuse a brow tint applicator?
Yes, as long as you thoroughly sanitize it after each use. Wash with warm water and gentle soap, air dry, and store properly.
Are there alternatives to buying a brow tint applicator?
Technically, yes—you could use disposable spoolies or toothpicks for small areas. But trust us, investing in a quality brush pays off in spades.
How often should I replace my applicator?
Every 3–6 months, depending on frequency of use. Overused brushes accumulate bacteria, leading to potential infections or uneven applications.
Conclusion
Your brows deserve nothing less than perfection—and with the help of a reliable brow tint applicator, salon-quality brows are just a few strokes away. Remember, practice makes perfect, but patience truly is golden here.
Now go forth, armed with your new favorite beauty tool, and slay those sleek arches like never before. Chef’s kiss!
Bonus Haiku:
Brows shaped to delight,
Angled brush, magic potion,
Beauty shines within.